How to Make a Heavy Nose Paper Airplane
Easy8 steps
Paper airplanes
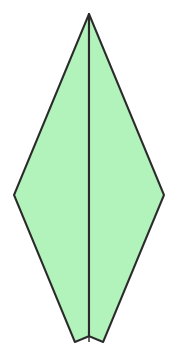
A plane with a folded strip at the front. The extra paper in the nose keeps it steady in the air.
You need: One sheet of printer paper (US Letter or A4).
Home / Paper Airplanes / Heavy Nose paper airplane
A plane with a folded strip at the front. The extra paper in the nose keeps it steady in the air.
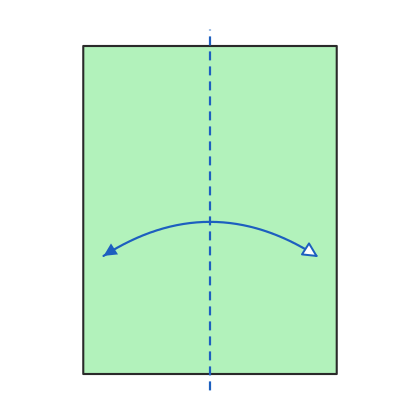
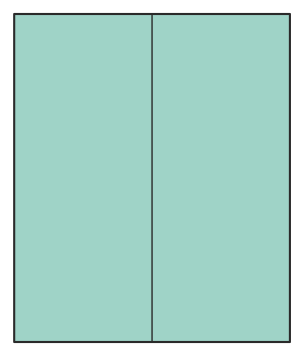
Use a sheet of printer paper. Fold it in half the long way, then unfold.
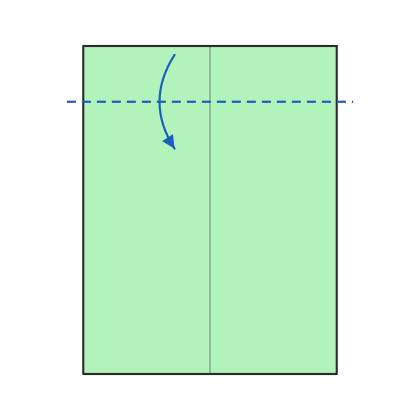
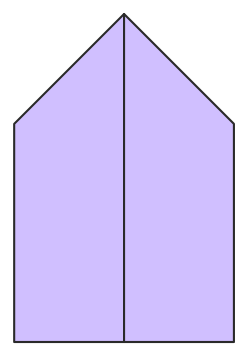
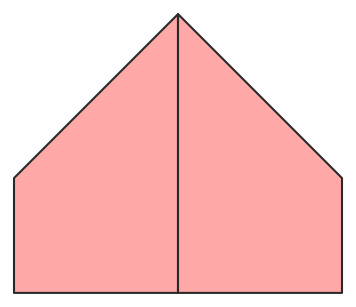
Fold the top edge down to make a wide strip.
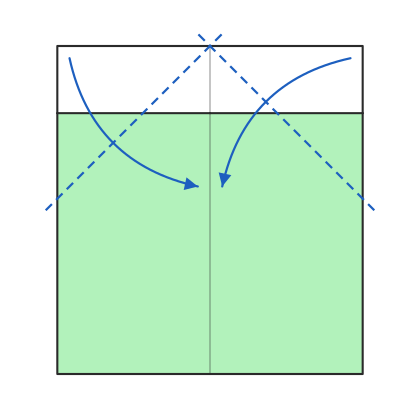
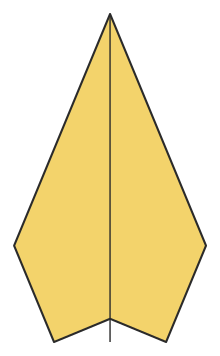
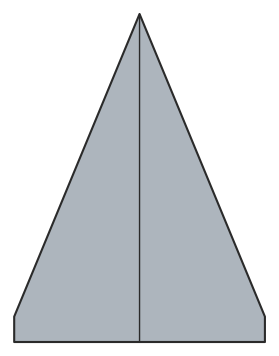
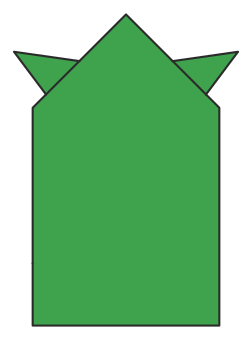
Fold the top corners in to the centre crease.
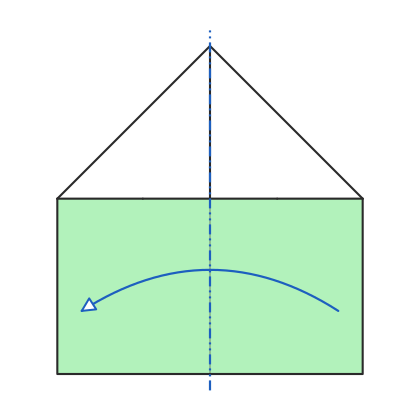
Fold the plane in half behind, along the centre crease.
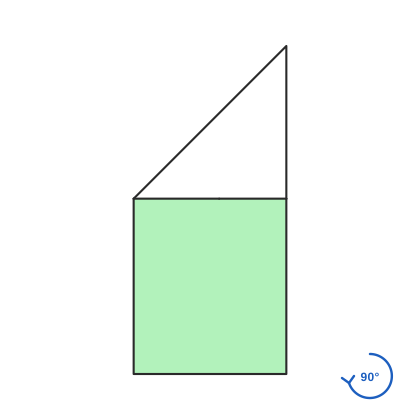
Turn the plane on its side, nose to the right.
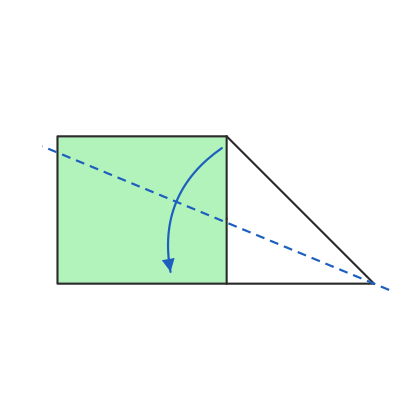
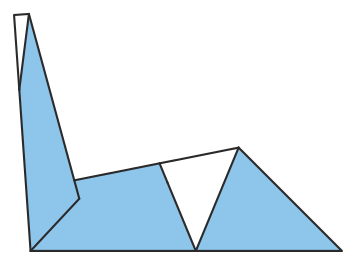
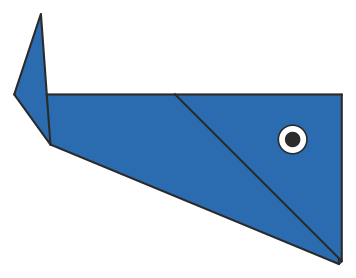
Fold the top layer down so its top edge meets the bottom edge. This is the first wing.
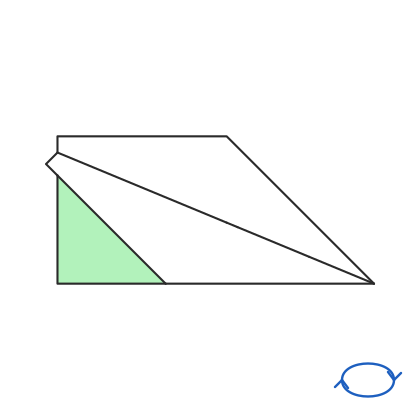
Turn the paper over.
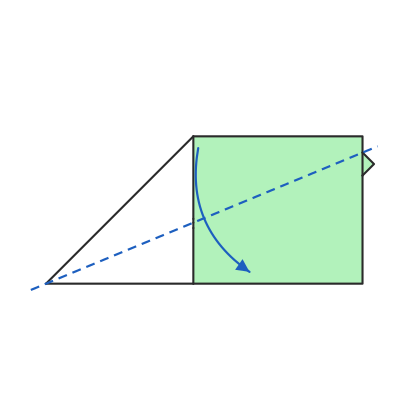
Fold the second wing down the same way.
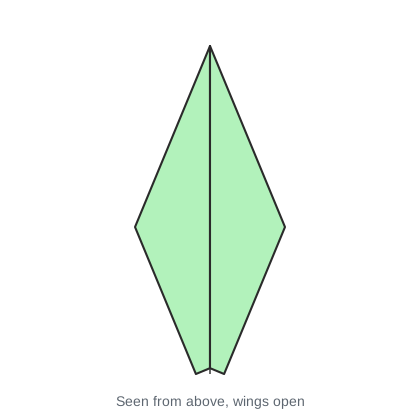
Open the wings so they sit flat. The folded nose makes it fly straight and survive crashes.
One sheet of printer paper (US Letter or A4).
It is rated easy and takes 8 steps. It is one of the simpler models on the site.
Yes. The printable PDF has every diagram and step on 1 page. There is also a sheet with the fold lines printed on the paper, numbered in folding order.
 Easy
 Easy
 Easy
 Easy
 Easy
 Easy
 Easy
 Easy
 Easy
 Easy