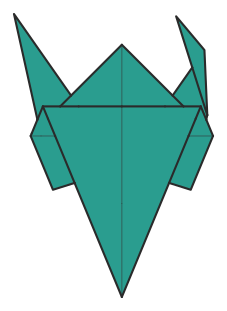
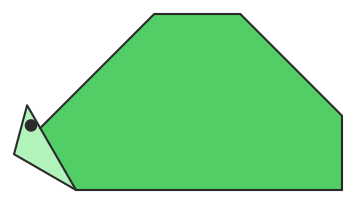
A traditional bird that flaps its wings when you pull its tail. It shares its first half with the crane: square base, two petal folds, then reverse folds for the neck and tail.
You need: One square of paper. 15 cm (6 inch) origami paper is ideal; any square sheet works.
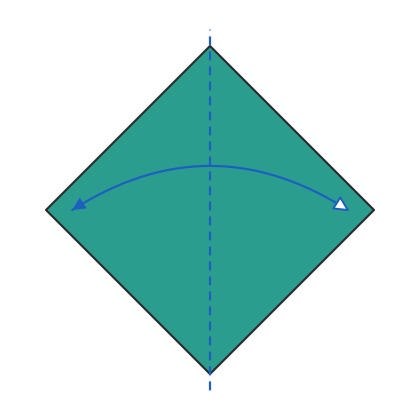
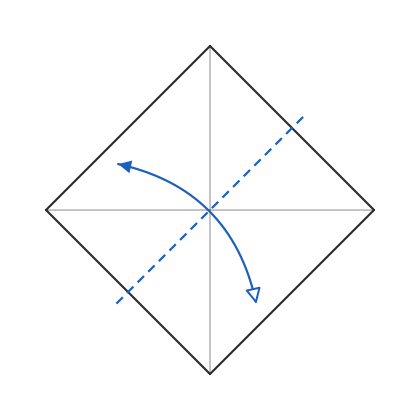
Start with the coloured side up. Fold in half corner to corner, then unfold.
2
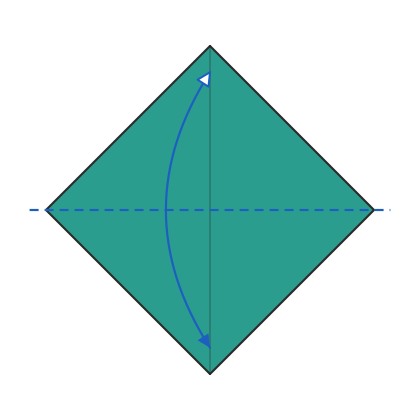
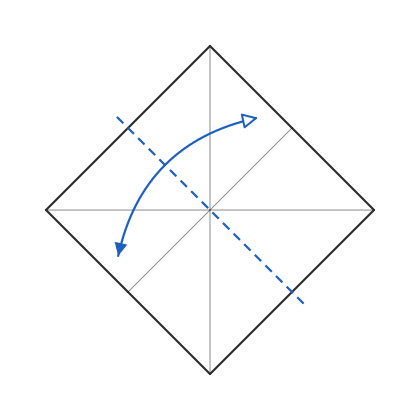
Fold in half along the other diagonal, then unfold.
3
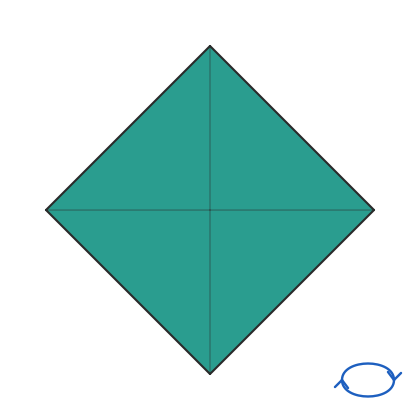
Turn the paper over.
4
Fold in half edge to edge, then unfold.
5
Fold in half the other way, then unfold.
6
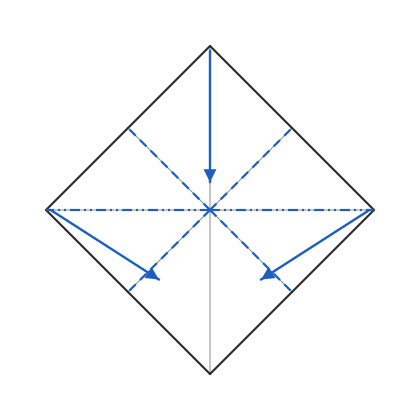
Bring the side corners down to the bottom corner and flatten into a square base.
7
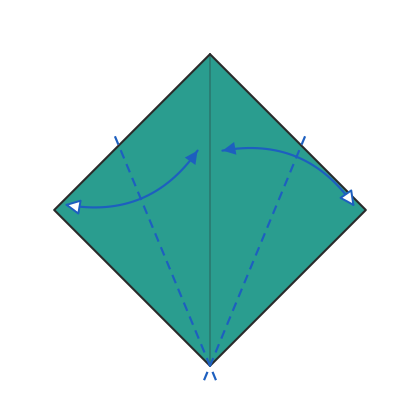
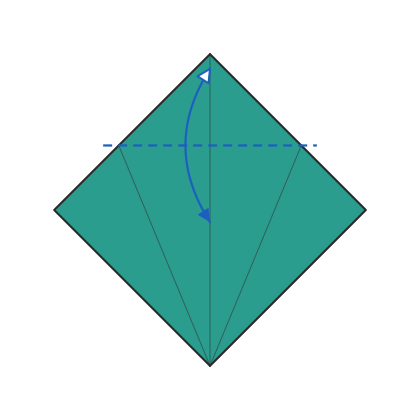
Fold the lower edges of the top layer to the centre line, then unfold.
8
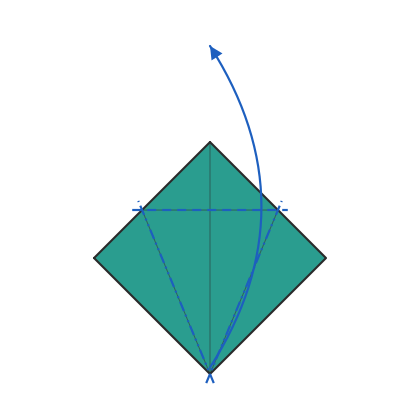
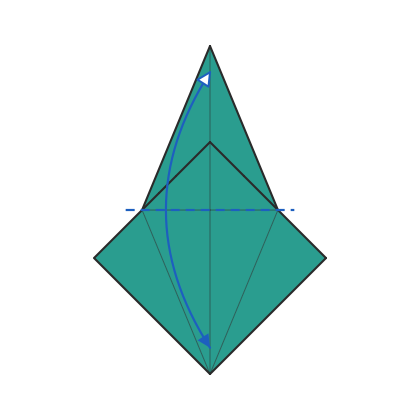
Fold the top triangle down along the ends of those creases, then unfold.
9
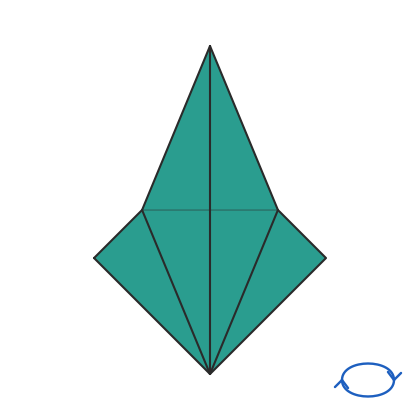
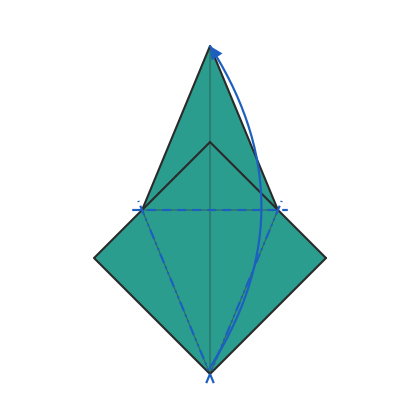
Lift the bottom point of the top layer up along the crease. The sides fold in along the creases you just made. This is a petal fold.
10
Turn the paper over.
11
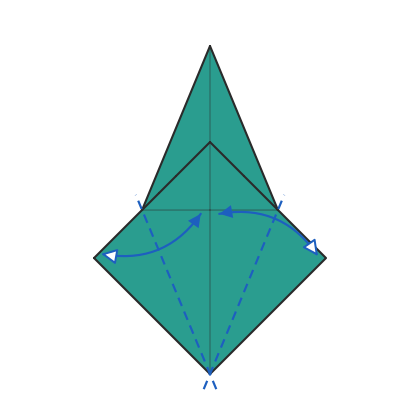
Fold the lower edges of the top layer to the centre line, then unfold.
12
Fold the top triangle down along the ends of those creases, then unfold.
13
Lift the bottom point of the top layer up along the crease. The sides fold in along the creases you just made. This is a petal fold on this side too. This shape is the bird base.
14
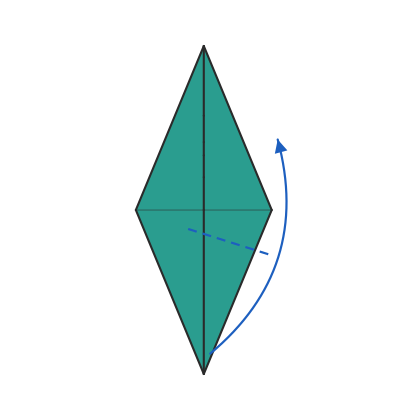
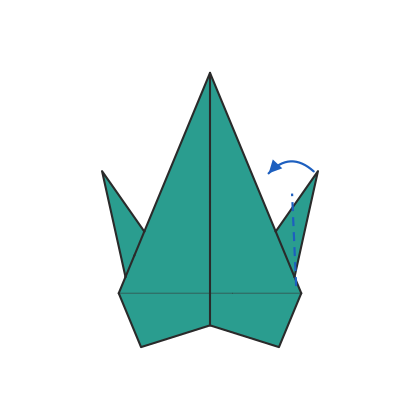
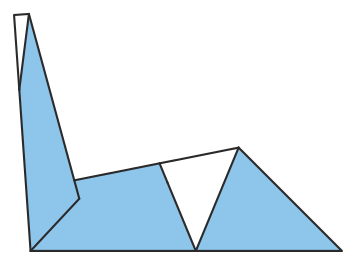
Inside reverse fold the right flap up between the layers. This is the neck.
15
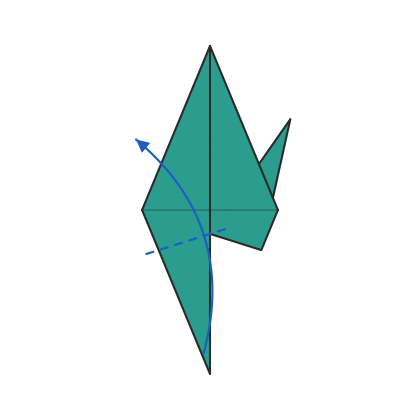
Inside reverse fold the left flap up the same way. This is the tail.
16
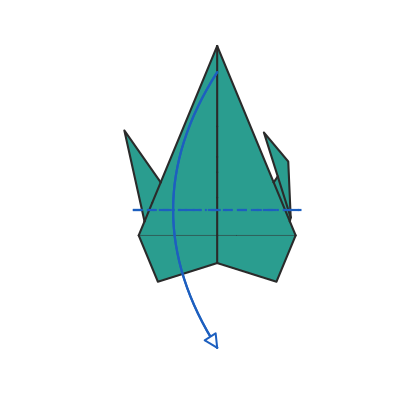
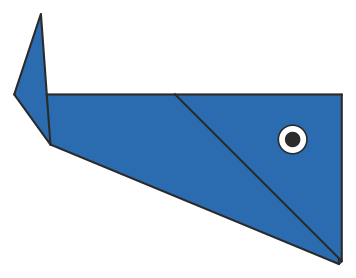
Inside reverse fold the tip of the neck down to make the head.
17
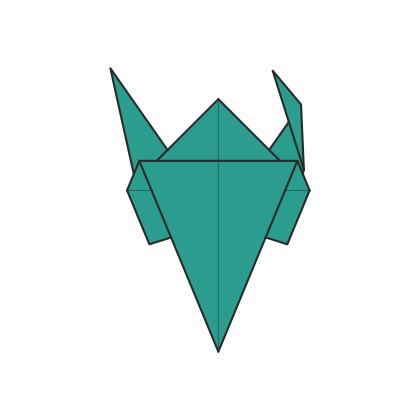
Fold the front wing down. Fold the back wing down behind.
✓
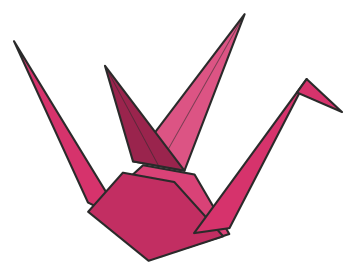
Lift the wings back up a little and curve them. Hold the base of the neck and gently pull the tail: the wings flap.
Tips
Do not fold the neck and tail too tight to the body, or the wings will not move.
Hold the bottom of the neck, not the body, and pull the tail gently.
Questions
What paper do I need for an origami flapping bird?
One square of paper. 15 cm (6 inch) origami paper is ideal; any square sheet works.
How hard is it to fold?
It is rated intermediate and takes 17 steps. Take your time on the steps where the paper changes shape.
Can I print the instructions?
Yes. The printable PDF has every diagram and step on 2 pages.