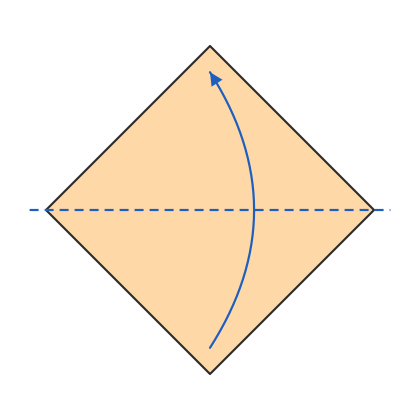
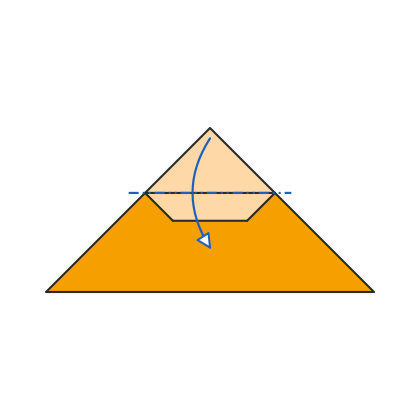
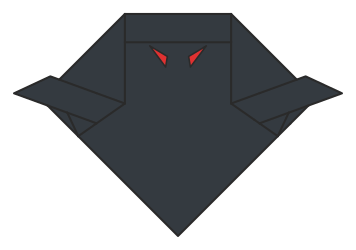
Start with the white side up, turned like a diamond. Fold the bottom corner up to the top corner.
2
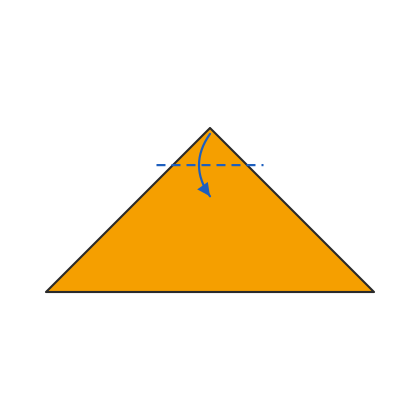
Fold the top point of the front layer down a little.
3
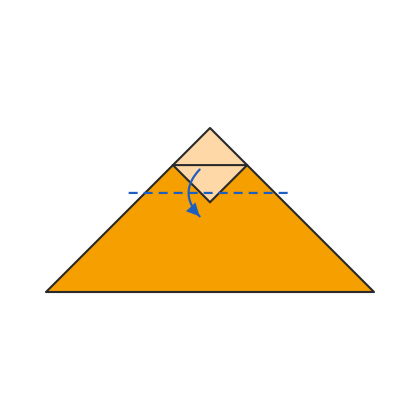
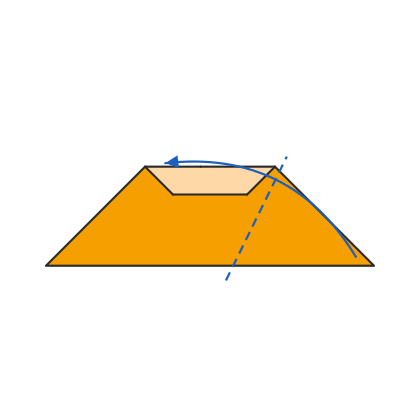
Fold it down once more. This is the owl's brow.
4
Fold the top point behind, level with the brow.
5
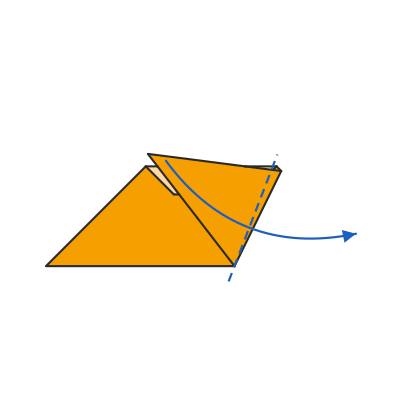
Fold the right corner up and across, on a line from just right of the middle of the bottom edge to the side of the head.
6
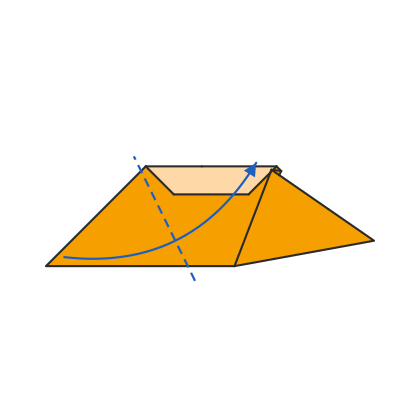
Fold the same flap back out to the right. This is the right wing.
7
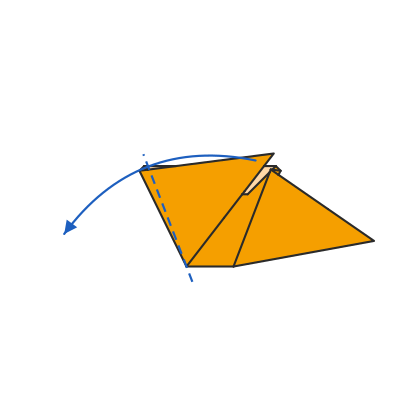
Fold the left corner up and across the same way.
8
Fold it back out to the left. This is the left wing.
✓
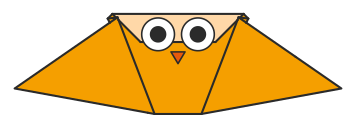
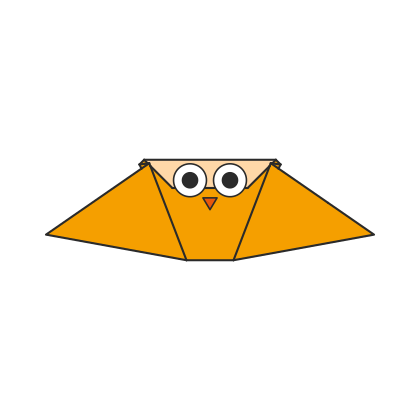
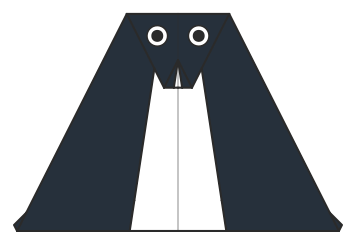
Draw two big round eyes and a beak under the brow. Your owl is done.
Tips
Fold both wings with the same angle so the owl looks even.
Brown or orange paper with a white back makes the brow stand out.
Questions
What paper do I need for an origami owl?
One square of paper. 15 cm (6 inch) origami paper is ideal; any square sheet works.
How hard is it to fold?
It is rated easy and takes 8 steps. It is one of the simpler models on the site.
Can I print the instructions?
Yes. The printable PDF has every diagram and step on 1 page. There is also a sheet with the fold lines printed on the paper, numbered in folding order.