Home / Origami Animals / Origami Cat Face
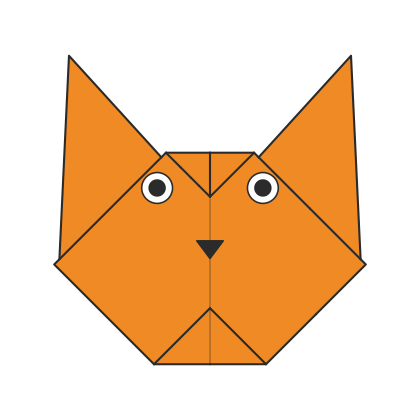
How to Make an Origami Cat Face
Easy7 steps
Animals
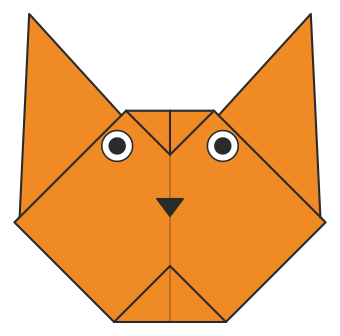
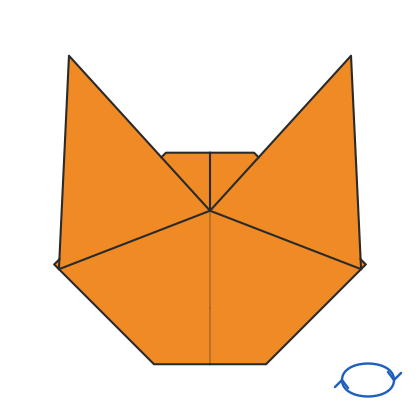
An easy cat face with pointed ears, a good first model for children. Draw the eyes and whiskers at the end.
You need: One square of paper. 15 cm (6 inch) origami paper is ideal; any square sheet works.
Step by step
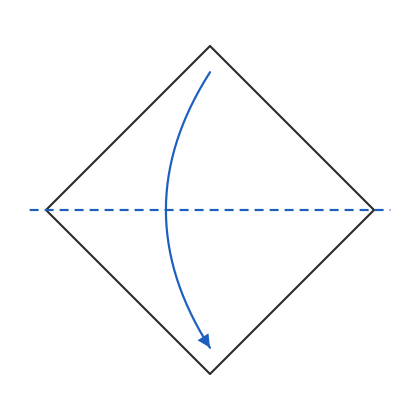
1Start with the white side up, turned like a diamond. Fold the top corner down to the bottom corner.
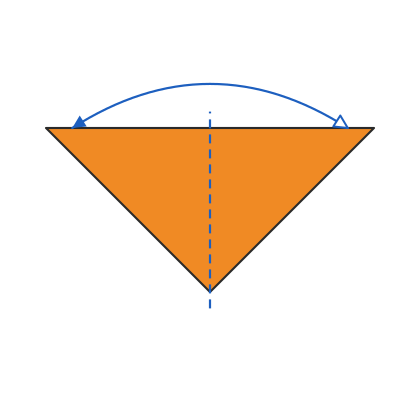
2Fold in half from side to side, then unfold.
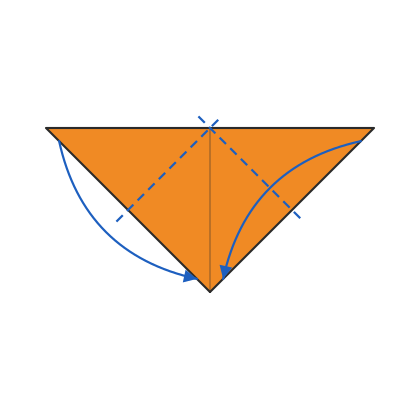
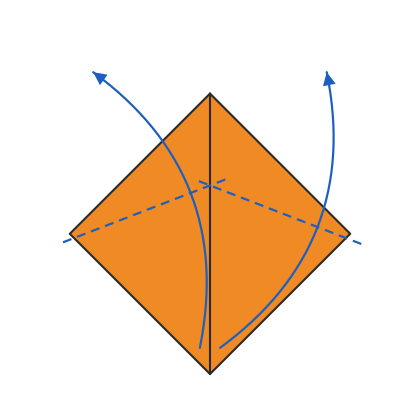
3Fold the left and right corners down to the bottom corner.
4Fold the points of both flaps up and out to make the ears.
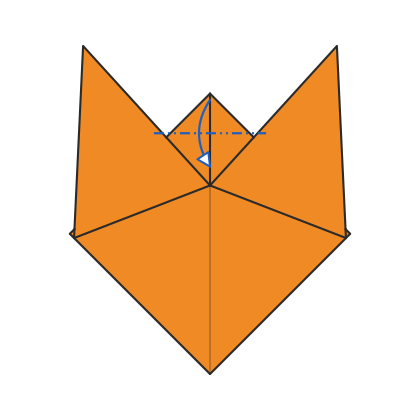
5Fold the top corner behind.
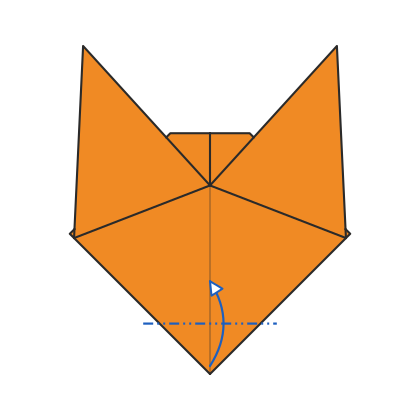
6Fold the bottom corner behind.
Tips
- The ears come out more even if both flaps are folded at the same time, using the same point.
Questions
What paper do I need for an origami cat face?
One square of paper. 15 cm (6 inch) origami paper is ideal; any square sheet works.
How hard is it to fold?
It is rated easy and takes 7 steps. It is one of the simpler models on the site.
Can I print the instructions?
Yes. The printable PDF has every diagram and step on 1 page.