Home / Origami Ideas / Origami Santa Hat
How to Make an Origami Santa Hat
Easy7 steps
Seasonal
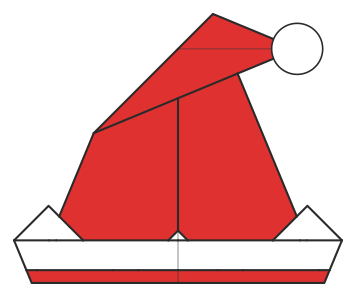
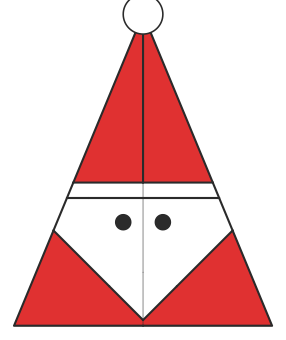
A Santa hat with a white brim and a floppy tip, in seven steps. Make a few to hang on the tree or to top gift tags.
You need: One square of paper that is red on one side and white on the other. 15 cm (6 inch) origami paper is ideal.
Step by step
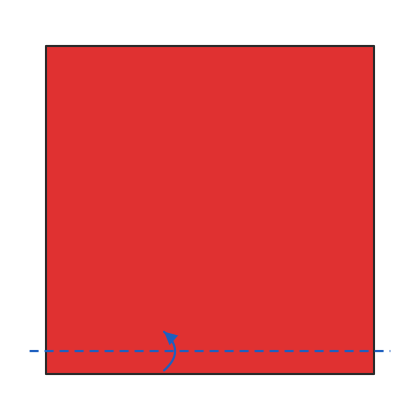
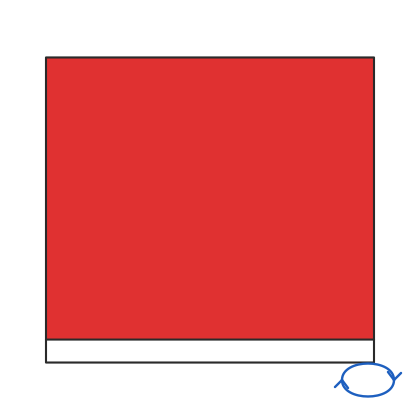
1Start with the red side up. Fold the bottom edge up a little, about 1 cm (half an inch).
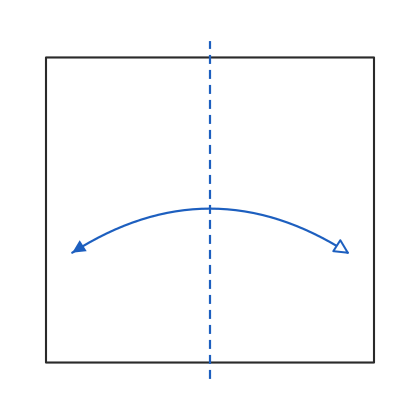
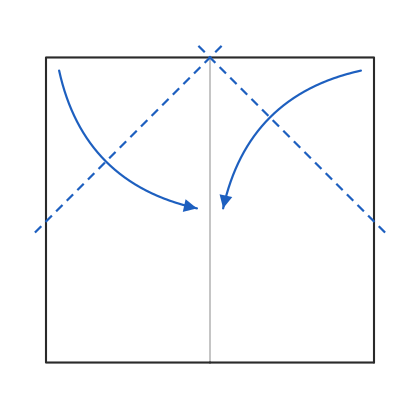
3Fold in half from side to side, then unfold.
4Fold the two top corners down to the centre crease.
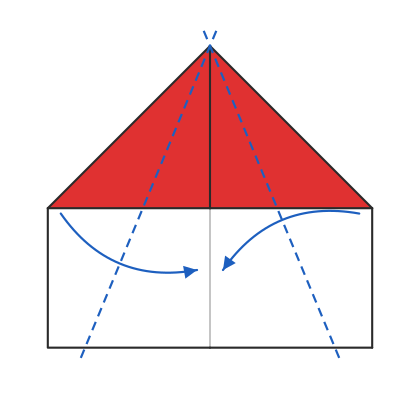
5Fold the right and left edges in to the centre crease, so the top becomes a long point.
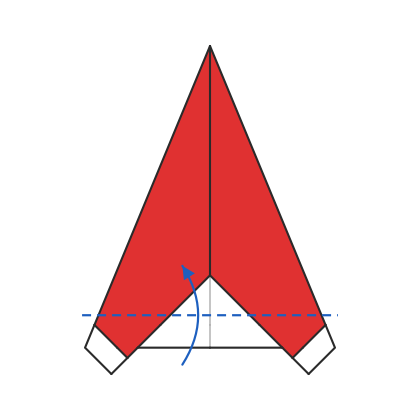
6Fold the bottom edge up to make the brim.
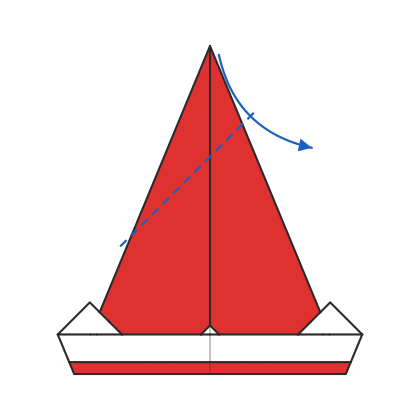
7Fold the top point down to the right.
✓Glue a white paper circle or a cotton ball on the tip. Your Santa hat is done.
Tips
- The white brim comes from the white back of the paper, so use paper that is white on one side.
- A small cotton ball glued on the tip makes a soft pompom.
Questions
What paper do I need for an origami santa hat?
One square of paper that is red on one side and white on the other. 15 cm (6 inch) origami paper is ideal.
How hard is it to fold?
It is rated easy and takes 7 steps. It is one of the simpler models on the site.
Can I print the instructions?
Yes. The printable PDF has every diagram and step on 1 page.