Home / Origami Ideas / Origami Corner Bookmark
How to Make an Origami Corner Bookmark
Easy4 steps
Toys and things
A corner bookmark that slips over the corner of a page, in four steps. Decorate it as a monster, a cat or an animal face.
You need: One square of paper. 15 cm (6 inch) origami paper is ideal; any square sheet works.
Step by step
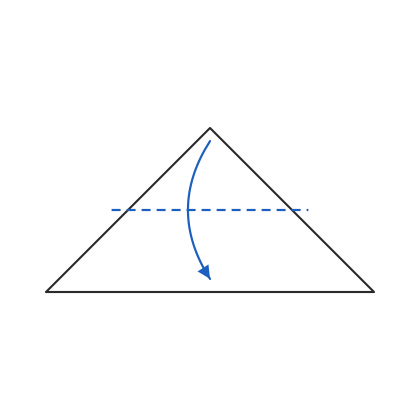
1Start with the coloured side up, turned like a diamond. Fold the bottom corner up to the top corner.
2Fold the top point of the front layer down to the middle of the bottom edge.
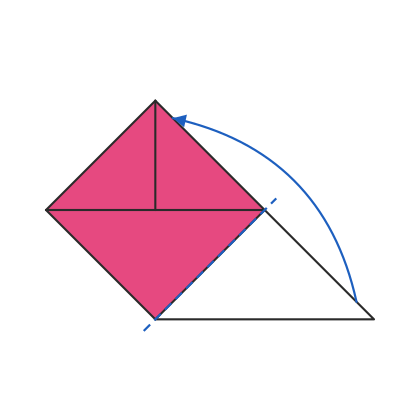
3Fold the left corner up to the top, tucking it in between the front and back layers.
4Do the same with the right corner.
✓Slip the pocket over the corner of a page. Draw a face or teeth on it to make a monster bookmark.
Tips
- The finished bookmark is half as wide as your square: a 15 cm (6 inch) square gives a 7.5 cm (3 inch) bookmark.
- Crease the corner folds firmly so the pocket holds the page.
Questions
What paper do I need for an origami corner bookmark?
One square of paper. 15 cm (6 inch) origami paper is ideal; any square sheet works.
How hard is it to fold?
It is rated easy and takes 4 steps. It is one of the simpler models on the site.
Can I print the instructions?
Yes. The printable PDF has every diagram and step on 1 page.