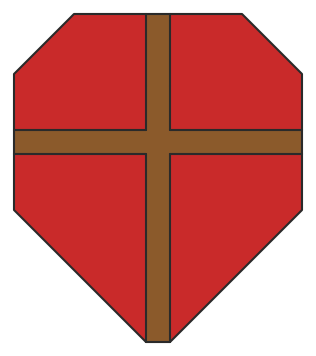
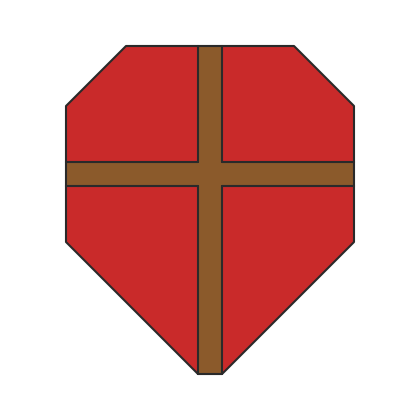
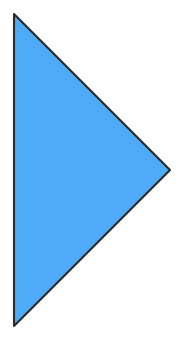
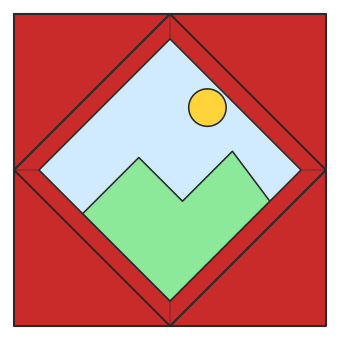
A knight's shield with a cross on the front, in three steps. The cross is the back colour of the paper showing through the gaps between four folded corners.
You need: One square of paper with a different colour on each side. 15 cm (6 inch) origami paper is ideal.
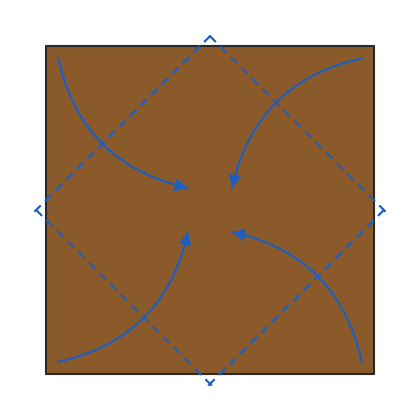
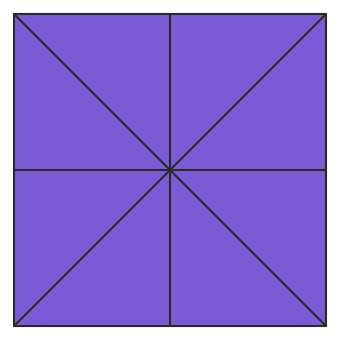
Start with the side you want for the cross facing up. Fold each corner in towards the centre, stopping a little short so thin gaps are left between the flaps. The gaps make the cross.
2
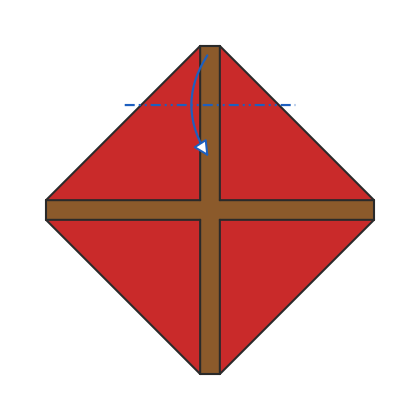
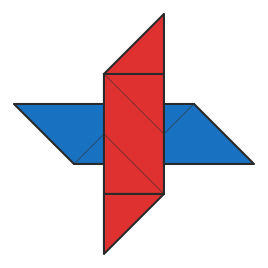
Fold the top point behind.
3
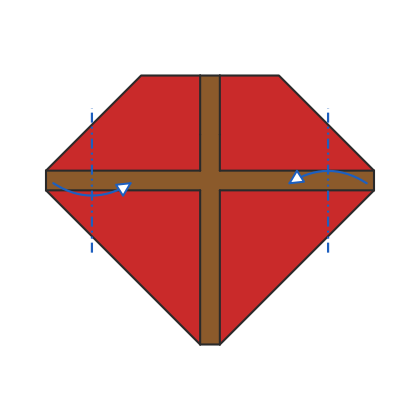
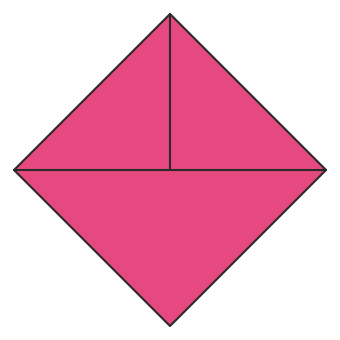
Fold the side points behind to shape the shield.
✓
Your shield is done. Fold a few in different colours for a knight's set.
Tips
Leave the gaps narrow and even: they become the arms of the cross.
Paper with two strong colours, like red and gold, makes the cross stand out.
Questions
What paper do I need for an origami shield with cross?
One square of paper with a different colour on each side. 15 cm (6 inch) origami paper is ideal.
How hard is it to fold?
It is rated easy and takes 3 steps. It is one of the simpler models on the site.
Can I print the instructions?
Yes. The printable PDF has every diagram and step on 1 page. There is also a sheet with the fold lines printed on the paper, numbered in folding order.