Home / Origami Ideas / Origami Picture Frame
How to Make an Origami Picture Frame
Easy6 steps
Toys and things
A square photo frame with four corner flaps that hold a picture, in six steps. Make it from a big square for a real photo.
You need: One square of paper. 15 cm (6 inch) origami paper is ideal; any square sheet works.
Step by step
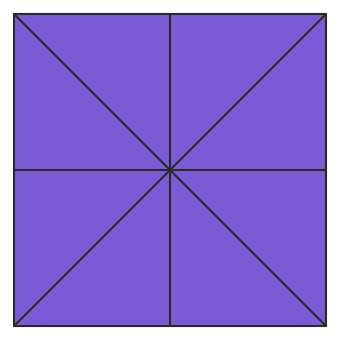
1Start with the coloured side up. Fold in half both ways, then unfold.
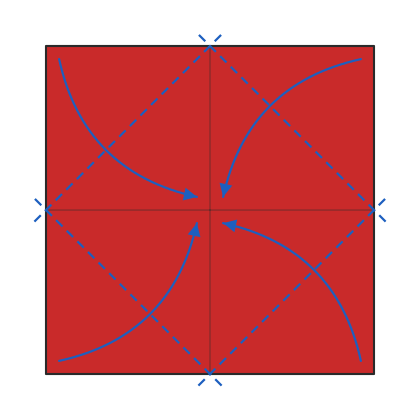
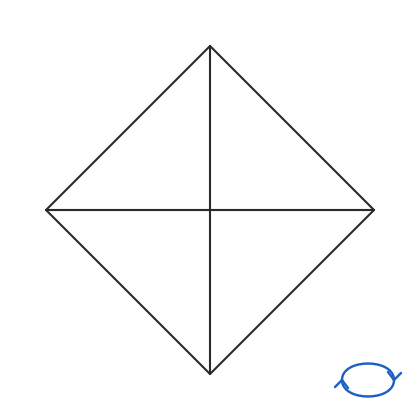
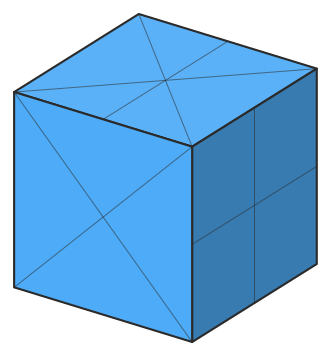
2Fold all four corners to the centre.
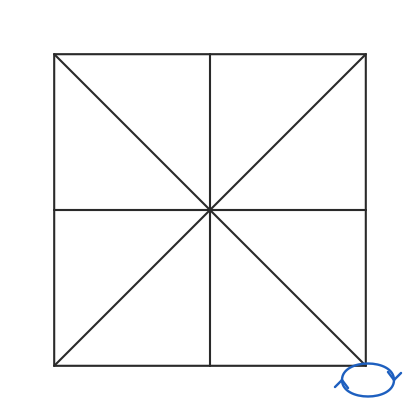
4Fold the four corners to the centre again.
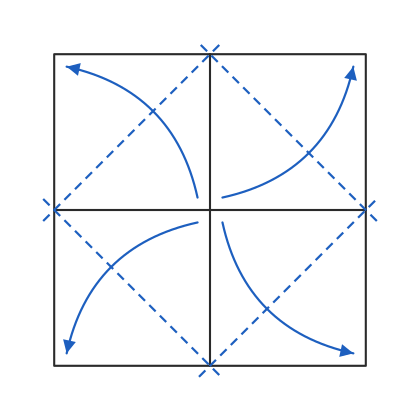
6Fold the four points in the middle out to the corners. This opens the window.
✓Slide a small photo or drawing under the four flaps. Your picture frame is done.
Tips
- The frame comes out half as wide as your square: a 30 cm (12 inch) square makes a 15 cm (6 inch) frame.
- Glue a loop of thread on the back to hang it up.
Questions
What paper do I need for an origami picture frame?
One square of paper. 15 cm (6 inch) origami paper is ideal; any square sheet works.
How hard is it to fold?
It is rated easy and takes 6 steps. It is one of the simpler models on the site.
Can I print the instructions?
Yes. The printable PDF has every diagram and step on 1 page.